
If you’ve tried to make your own custom map styles before you’ve probably used MapBox Studio or its predecessor, Tilemill. Mapbox is doing a huge amount of work around custom maps and map data. As part of this, they’ve developed many open source tools and some file specifications as well. It’s hard not to be impressed by the quality and usefulness of products like Mapbox Studio.
Recently, I had a tricky task that involved working with map tiles generated by Mapbox Studio. We developed an application for use on tablets that needed to use a custom map AND work offline. This ruled out many common options for tile serving. Still, we developed our custom map style in Mapbox Studio because it is an excellent tool. The challenge was taking the on-the-fly tile rendering based on Mapbox Studio vectors and getting them into a format that could be packaged with our application.
Some Background
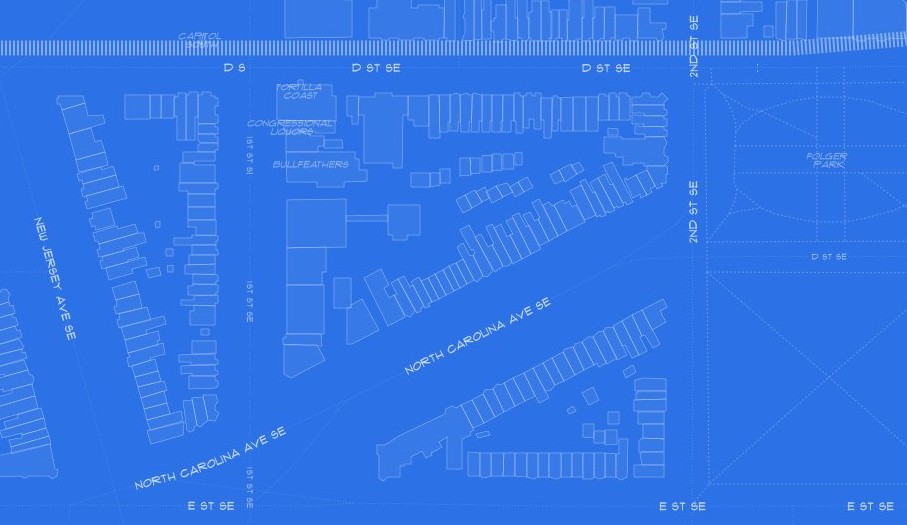
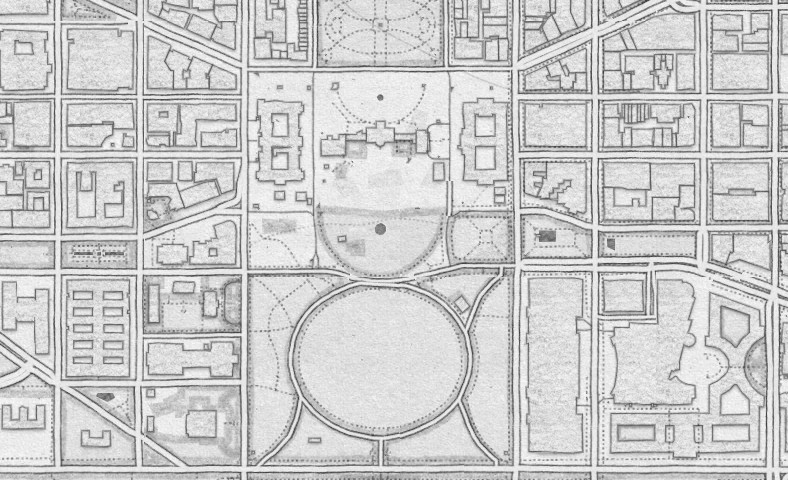
Customizing the presentation of map data isn’t a simple task. To make this task a little more pleasant and intuitive for developers accustomed to style languages such as CSS, Mapbox developed CartoCSS, which looks much like CSS. To make a fast feedback cycle that would give a similar experience to developing HTML/CSS, the Mapbox developers created Tilemill, which allows users to set up a map, write some CartoCSS and see the changes nearly immediately. It’s great software and I think it has created a proliferation of smart and beautiful cartography. Technical.ly Philly recently celebrated a blueprint styled map created by Lauren Ancona.
Tilemill could upload your tiles to Mapbox which would act a tile server for your projects. This service is part of the economic model for Mapbox. For most users, offloading tile serving to a specialized and highly performant cluster of Mapbox servers is an obvious choice and well worth the cost. However being a very open platform from a company with roots in open source software, Tilemill also allowed users to save the tiles directly out to disk as an mbtiles file. This is a special file format also developed my Mapbox. It’s actually just a SQLite database with a known format. Some users opted to self host map tiles but probably a small fraction.
Mapbox Studio is the next iteration of Tilemill. It has many of the same features and many improvements. One of the biggest changes between Tilemill and Mapbox Studio is that Tilemill relied on raster images and Mapbox Studio relies on vector tiles. This is a big gap in how images are generated. In the raster model, the server either pre-renders images for each tile of the map and saves it on disk or it generates images on the fly as they are requested and sends those back in the response. In either event, the data being transferred to the users who see a map, are images. Images are large and somewhat clunky from a data perspective. If you want to change the map style, you have to regenerate all those images. It takes a lot of computing power and all that load is on the server.
Mapbox has been moving to a vector model for tile serving and they’ve developed specifications on how to do this. The idea in the vector tile model is that the server sends the data that goes on a map tile to the user. This means, that the names of roads, the shapes of buildings, the position of rivers is accounted for, but not what color to make those shapes and not the fonts to use in them. In most cases sending back only the raw data and not the rendered tile is much faster and puts less load on the server. The vector data is then mixed with the style data by the client where it is rendered. This is similar to how CSS and HTML work. The server sends the style information along with the content data, and the browser creates a visual presentation. The work of generating the presentation has been offloaded to the user. Distributed computing at it’s best!
Because Mapbox is moving to a vector based model for tiles, in Mapbox Studio the ability to export the rendered tiles to an mbtiles file was removed. Under most circumstances this is fine; if you really need raster functionality, you can still use Tilemill and if you really want to serve your own tiles, you can actually serve your own vector tiles. One confusing aspect to this change from Tilemill to Mapbox Studio and raster to vector tiles is that Mapbox Studio can export an mbtiles file but it stores vector data rather than raster. Same filename different (and incompatible) data.
Sometime you just need rasters
Since our application needed to work offline, and since our map didn’t cover a large area, packaging the tiles with the application was the most reasonable option. Our Data Analytics team worked on a nice map style in Mapbox Studio based on the pencil style developed by Mapbox and it wasn’t an option to backport it to Tilemill. I started looking for ways to convert Mapbox Studio vector tiles to raster tiles. There’s surprisingly little information out there about how to do this. Luckily, being open source, many of the features of Mapbox Studio are separated into their own libraries and there are node.js modules that can use these or add extra features to them. I found a small module called “tl” which I presume is an abbreviation of “tilelive” for which this module provides features. This is a command line utility that will grab raster tiles delivered to the client by the rendering server in Mapbox Studio and stream them to an old-school raster based mbtiles file. It takes a long time to do this so it’s really only good for a small area but that’s all we really needed for our application.
I also found a tile server called tessera (from the same developer as tl), which can serve tiles in just about any format you can think of. I decided to use tessera to start debugging. I figured if I could get tessera to serve my tiles, then at least I would know they work and I could figure out how to get tl to save them.
This is where you can start following along if you are looking for a tutorial, however if you want the spoilers, you can skip to the end where I link to an Ansible role that provisions a Vagrant/Virtualbox server and gets everything ready for you.
Try it yourself
These projects are all node.js programs so if you don’t have it installed already you need to get it. I recommend grabbing the latest from the v0.10 series. I did all my development and testing on v0.10.28. I should also mention that the commands listed are for Linux/Unix/OSX. If you are a windows user you’ll have to modify the commands slightly or use a Linux virtual machine (which I recommend anyway).
Mapbox Studio stores all your projects in a folders that ends in .tm2 (for Tilemill2). They’re all stored in your user directory. Getting tessera to serve your Mapbox Studio tm2 project is supposed to be as easy as installing tessera and tilelive providers (APIs for different kinds of tile and style data) and then running a command to kick off the server with your tm2 project.
npm install -g tessera tl mbtiles mapnik tilelive tilelive-file tilelive-http tilelive-mapbox tilelive-mapnik tilelive-s3 tilelive-tmsource tilelive-tmstyle tilelive-utfgrid tilelive-vector tilejson tessera tmstyle:///path/to/your/mapproject.tm2
You might need to run the npm command as root or prefix with with sudo (sudo npm…) but that is supposed to work. For me it did not.
First, I got complaints that the network request couldn’t be completed. The reason for this is that Mapbox Studio streams data from mapbox.com and uses an API token. The reason you need an account with Mapbox just to use the software is that they associate that API token with your program. To make the requests from the command line, you need to provide the token as a variable that is passed with each request. It took some digging but I found that this variable is named MAPBOX_ACCESS_TOKEN. Log on to mapbox.com and visit the projects page. You should see your token at the top of the page. You can supply this as an environment variable for your current session by issuing the following command:
export MAPBOX_ACCESS_TOKEN=mytokenhere
Make sure it worked by having it echo back to you:
echo $MAPBOX_ACCESS_TOKEN
This should show you your token. At this point I tried running the tessera command again but it still failed. This time I got an error message about missing fonts. Mapnik, which is the realtime map tile renderer needed to know the location of all the fonts being used in the project. Again it took some digging. But I found that this can also be supplied via the environment variable MAPNIK_FONT_PATH. I moved all the fonts into a known directory and then issued the following command:
export MAPNIK_FONT_PATH=/path/to/font/directory
In my case I just used the global font directory (/usr/share/fonts) for ubuntu which gave Mapnik access to all my fonts.
After this, tessera worked.
tessera tmstyle:///path/to/your/mapproject.tm2
This started a server on port 8080. Visiting localhost:8080 gave me a leaflet map that I could explore.
Next I tried using tl to export the tiles to an mbtiles file. This program has a copy command. You’ll need to supply information about what part of the map to copy.
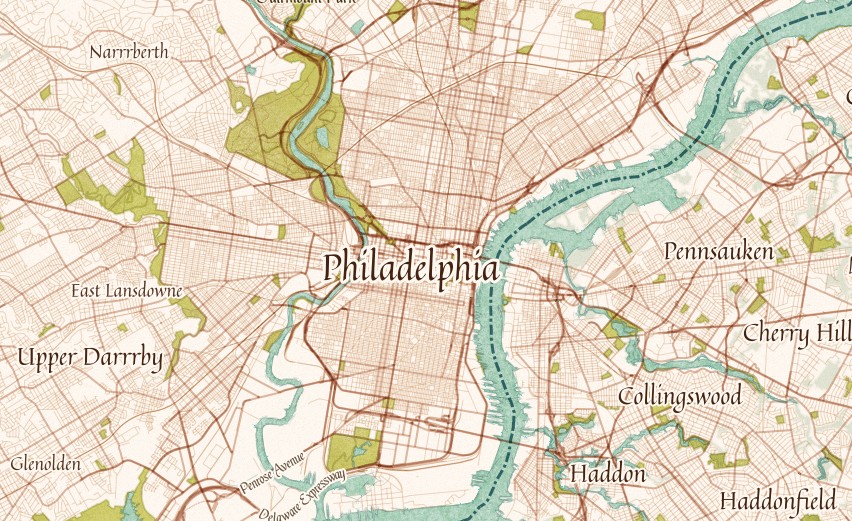
tl copy -z 17 -Z 18 -b "-75.171375 39.945049 -75.15554 39.956991" tmstyle:///absolute/path/to/project.tm2 mbtiles:///path/to/save/tiles.mbtiles
This will grab tiles for zoom levels 17 and 18 for the area of Philadelphia around City Hall and save it to a classic raster mbtiles file. Lowercase “z” is the starting zoom, uppercase “Z” is the ending zoom and “b” is the bounding box for the map constraints.
Finally with an mbtiles file I used mbutil, another of Mapbox’s great libraries to extract the tiles and embed them in our application.
I packaged all this up into an Ansible role and Vagranfile. The results are a tile converter virtual machine. To use this you’ll need Ansible, Virualbox, and Vagrant installed. Once this is done follow the instructions in the readme and you should be good to go.